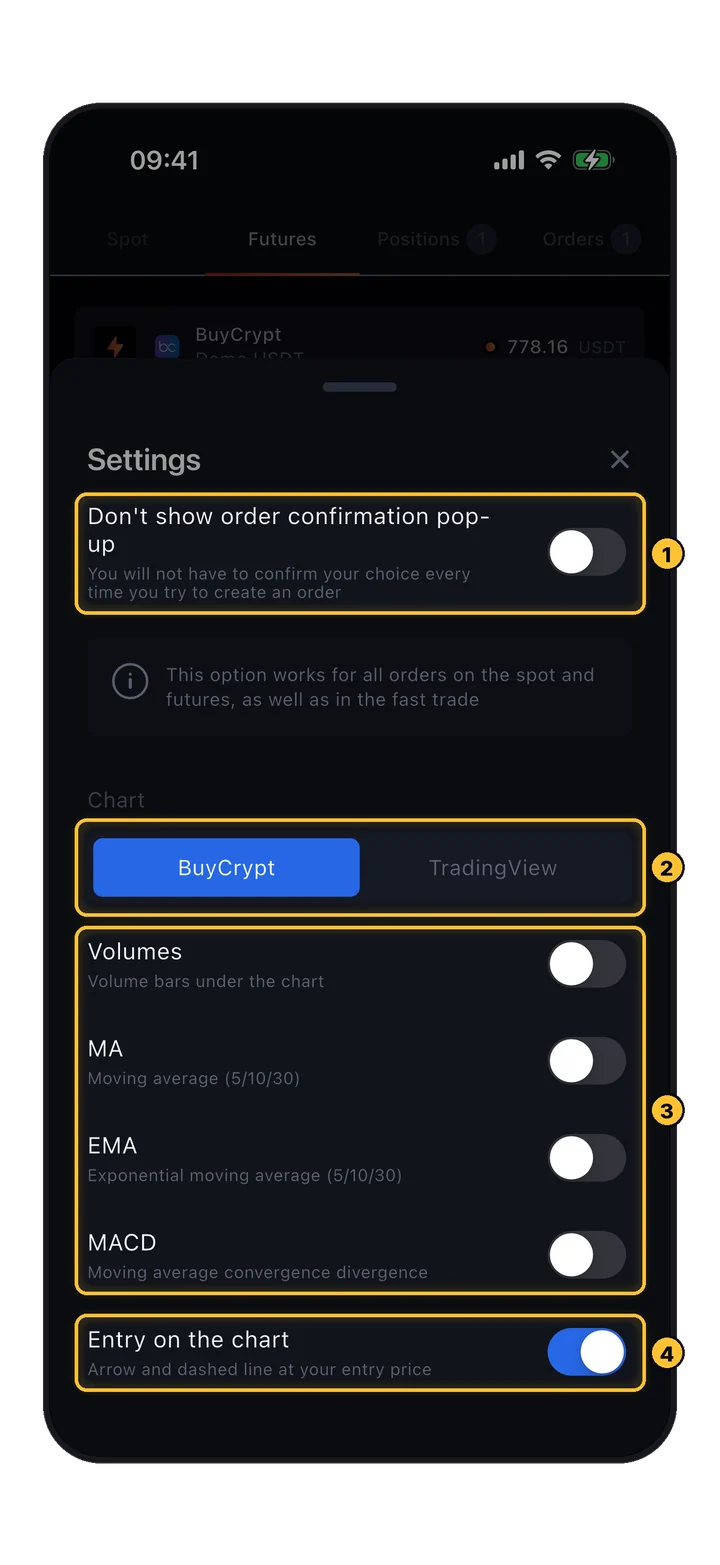
● LIVE · BuyCrypt पर Perpetual futures · Leverage up to 100x · Mark price vs Last price · Order types: Limit / Market / Stop / TP · Liquidation = margin नीचे maintenance से · High risk product — आयु 18+ · ● LIVE · BuyCrypt पर Perpetual futures · Leverage up to 100x · Mark price vs Last price · Order types: Limit / Market / Stop / TP · Liquidation = margin नीचे maintenance से · High risk product — आयु 18+ ·
BuyCrypt
गाइड · ट्रेडिंग अपडेटेड Oct 23, 2024 · 10 मिनट रीड

BuyCrypt पर
trading की पूरी guide।

Account creation से अपनी पहली position close करने तक। Perpetual futures, leverage, order types, liquidation — app की हर screen को 11 real phone screenshots के साथ walk through किया गया।

📖 अनुमानित पढ़ने का समय · 12 min · 📱 11 real phone screenshots · 🎯 नए और intermediate users के लिए
TL;DR · 3 स्टेप्स
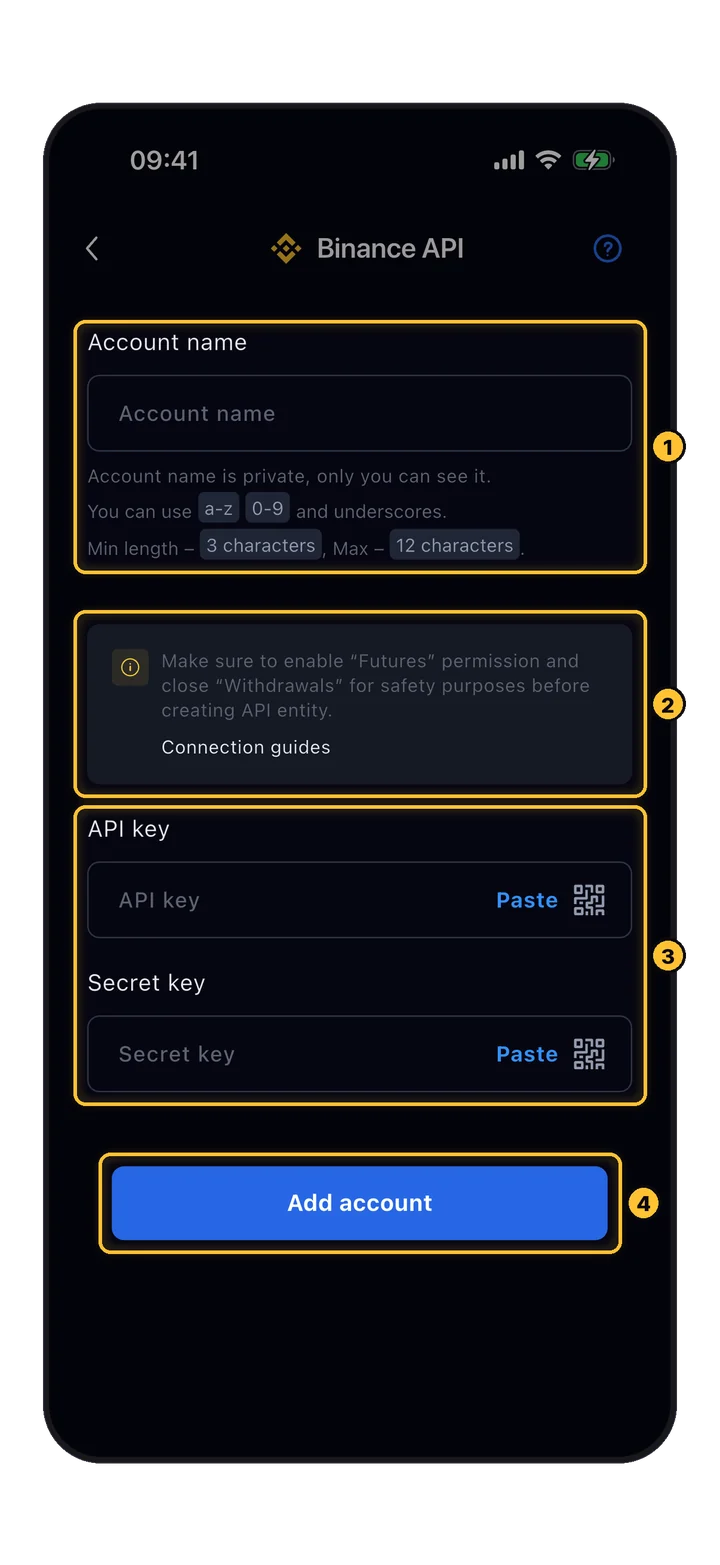
  • 1. Account create करें · exchange API key connect करें (read + trade, कभी withdraw नहीं)
  • 2. Perps समझें · long/short, leverage, liquidation price
  • 3. Order place करें · market या limit → monitor करें → close करें
Trading पहले से जानते हैं? → Web terminal खोलें · app install करें
BTC / USDT
42,843.0
24h
+0.59%
हाई
43,273
लो
42,509
फंडिंग
0.01%
शुरू करने से पहले

पहले मुख्य बातें।

किसी भी platform पर perpetual futures trading शुरू करने से पहले, समझें कि आप किससे deal कर रहे हैं।

🎓

Product जानें

Perpetual futures trading के लिए technical skills और basic trading principles की solid understanding ज़रूरी है। Interface पहले complex लग सकता है — यह guide हर screen through walk करती है।

⚠️

Risks याद रखें

Futures trading में significant risk होता है। आपको trading तभी शुरू करनी चाहिए जब आप adequately prepared हों और समझ गए हों कि यह product कैसे काम करता है। कभी भी उससे अधिक risk न लें जो आप afford कर सकते हैं।

01 · साइन अप

Account कैसे create करें।

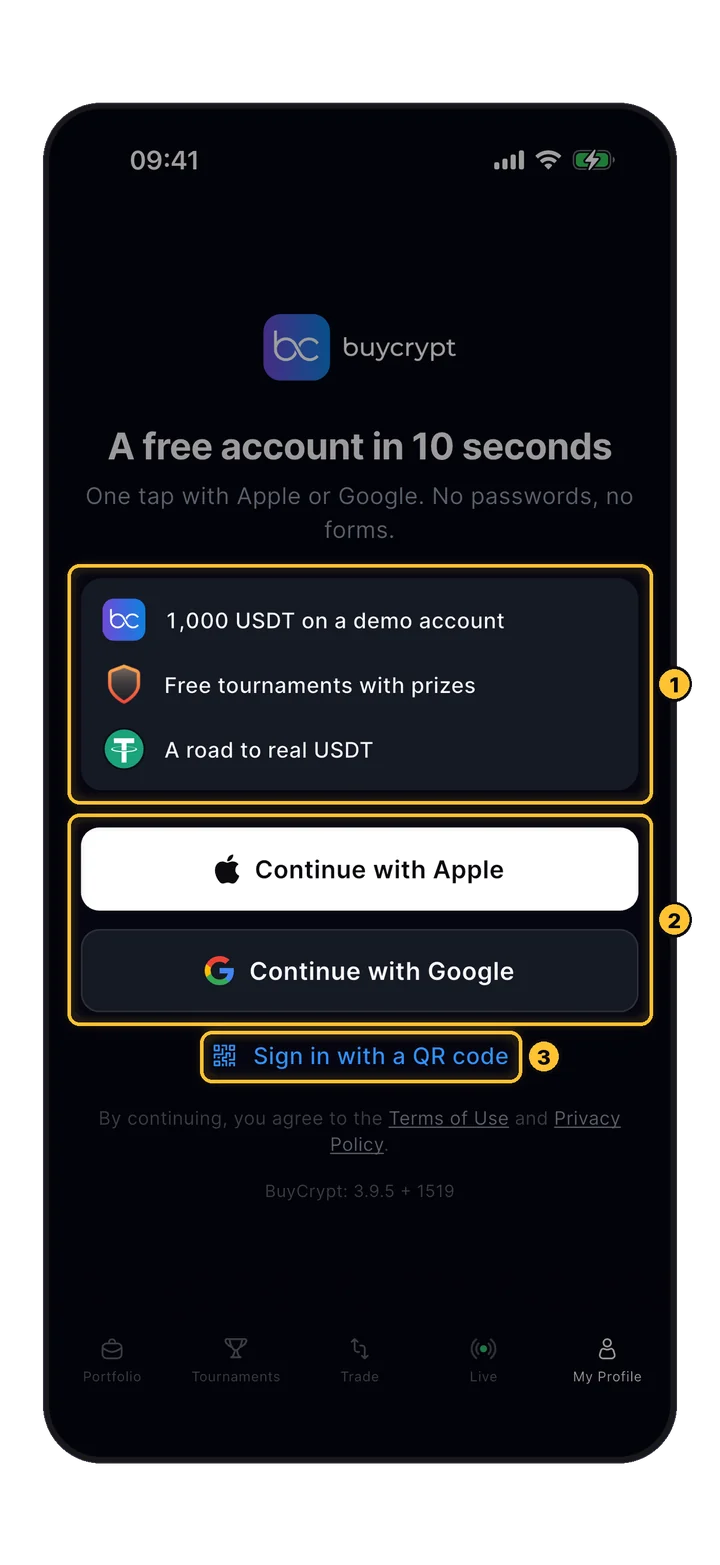
App खोलें, My Profile पर जाएँ, और Apple ID या Google ID से sign in करें। Email/password forms नहीं, qualifiers के लिए KYC नहीं।
BuyCrypt लॉगिन स्क्रीन जिसमें Apple, Google, QR विकल्प हैं
🔴 रेड बॉक्स · लॉगिन विकल्प
On the login screen, choose one of three methods: Apple ID, Google ID, or QR कोड for web-to-app pairing. Tap the button that matches your preferred account.
Google OAuth अकाउंट सिलेक्टर
🔴 रेड बॉक्स · अकाउंट सिलेक्टर
Confirm the sign-in via your chosen provider (Google shown here). Pick the account you want associated with BuyCrypt, then you'll land directly on the पोर्टफोलियो screen.
02 · पोर्टफोलियो

दो tabs। आपके पास जो कुछ भी है।

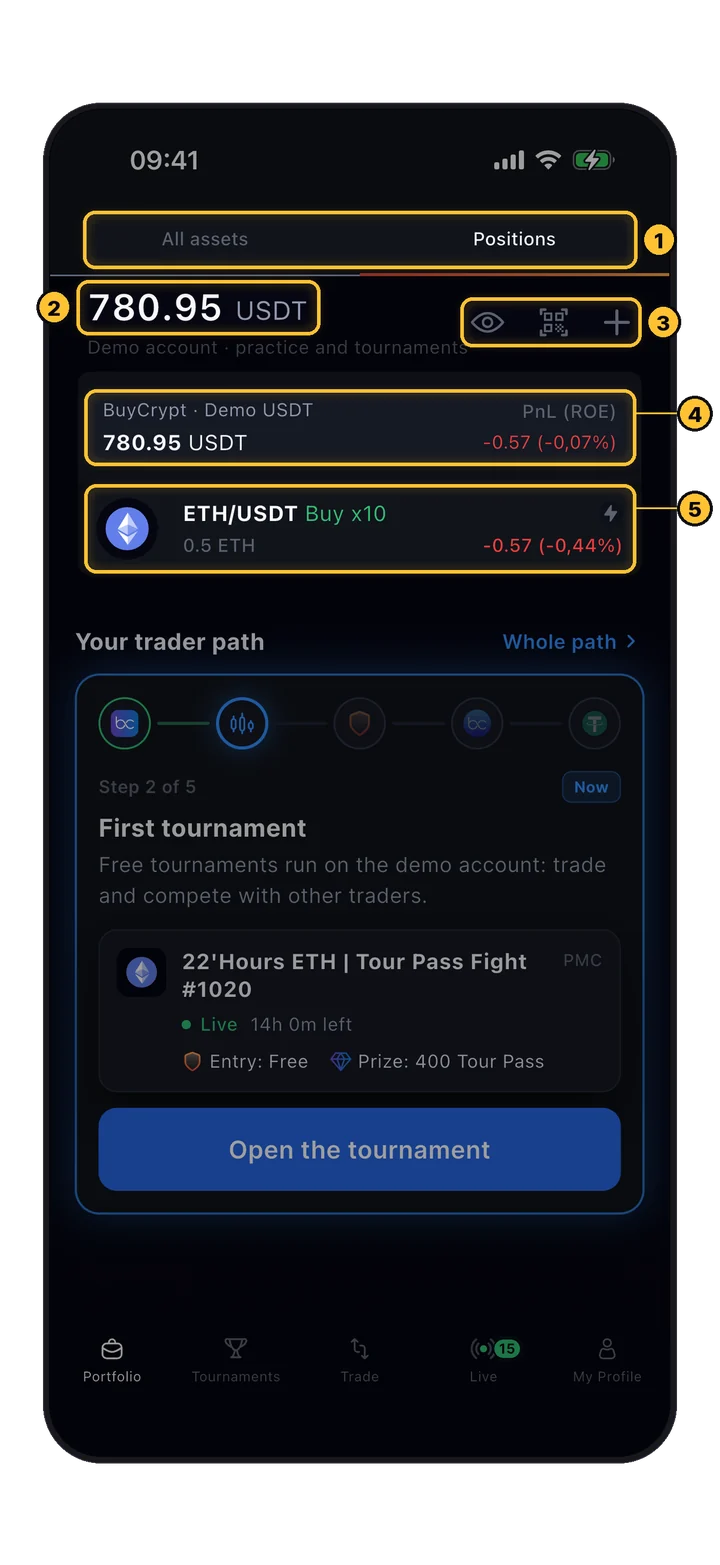
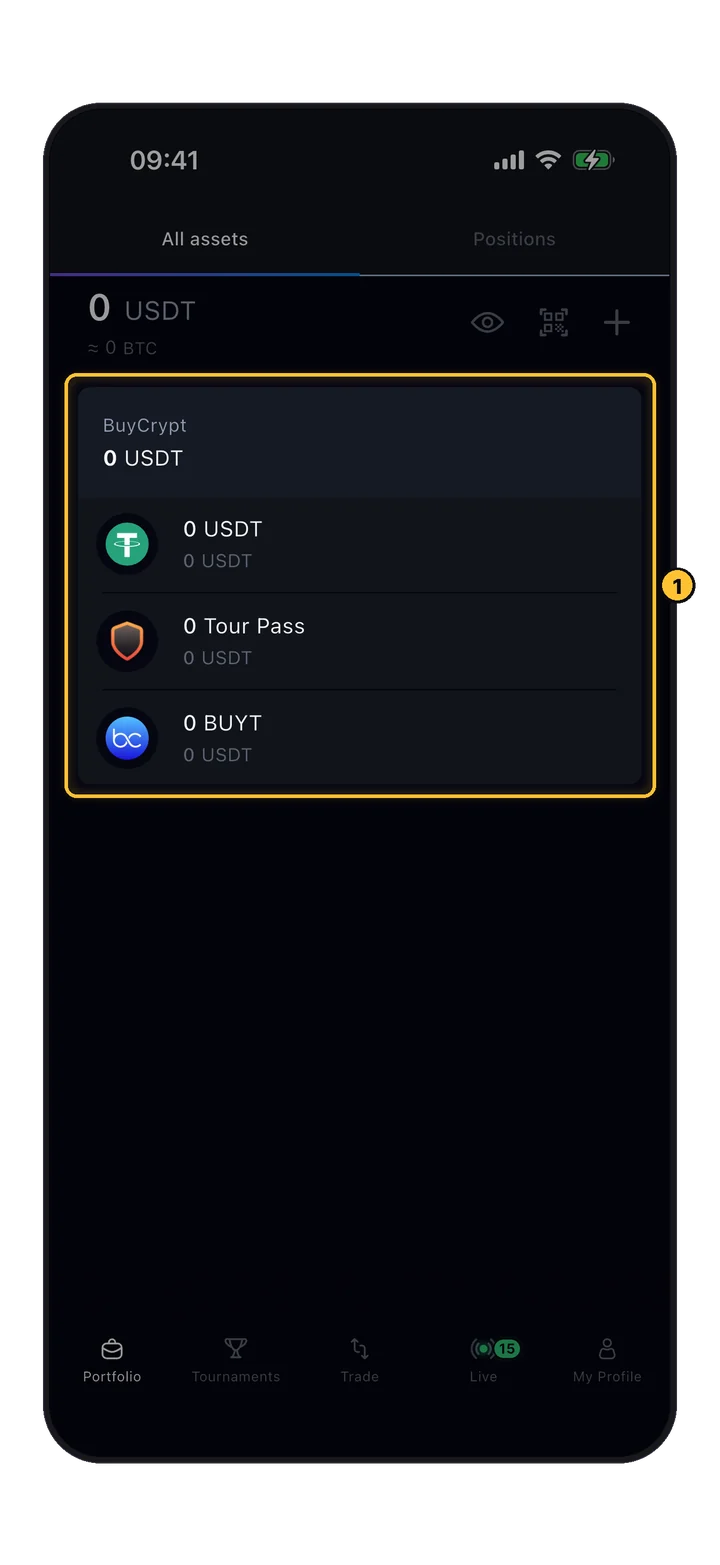
Portfolio screen आपकी holdings को दो dimensions में split करती है: spot assets और open positions। Tournament balances और prize USDT भी यहाँ दिखाई देते हैं।

💼
ऑल एसेट्स

Spot balance, हर exchange।

सभी connected API keys पर spot assets दिखाता है। Tournaments से prize USDT, demo accounts और real connected exchange balances — सब एक जगह।

📈
पोज़िशन्स

Open trades, live PnL।

आपकी सभी open positions उनके current PnL (profit/loss) के साथ। Real time में update होती हैं ताकि आप market move होने पर risk monitor कर सकें।

03 · ट्रेड स्क्रीन

चार zones। एक screen।

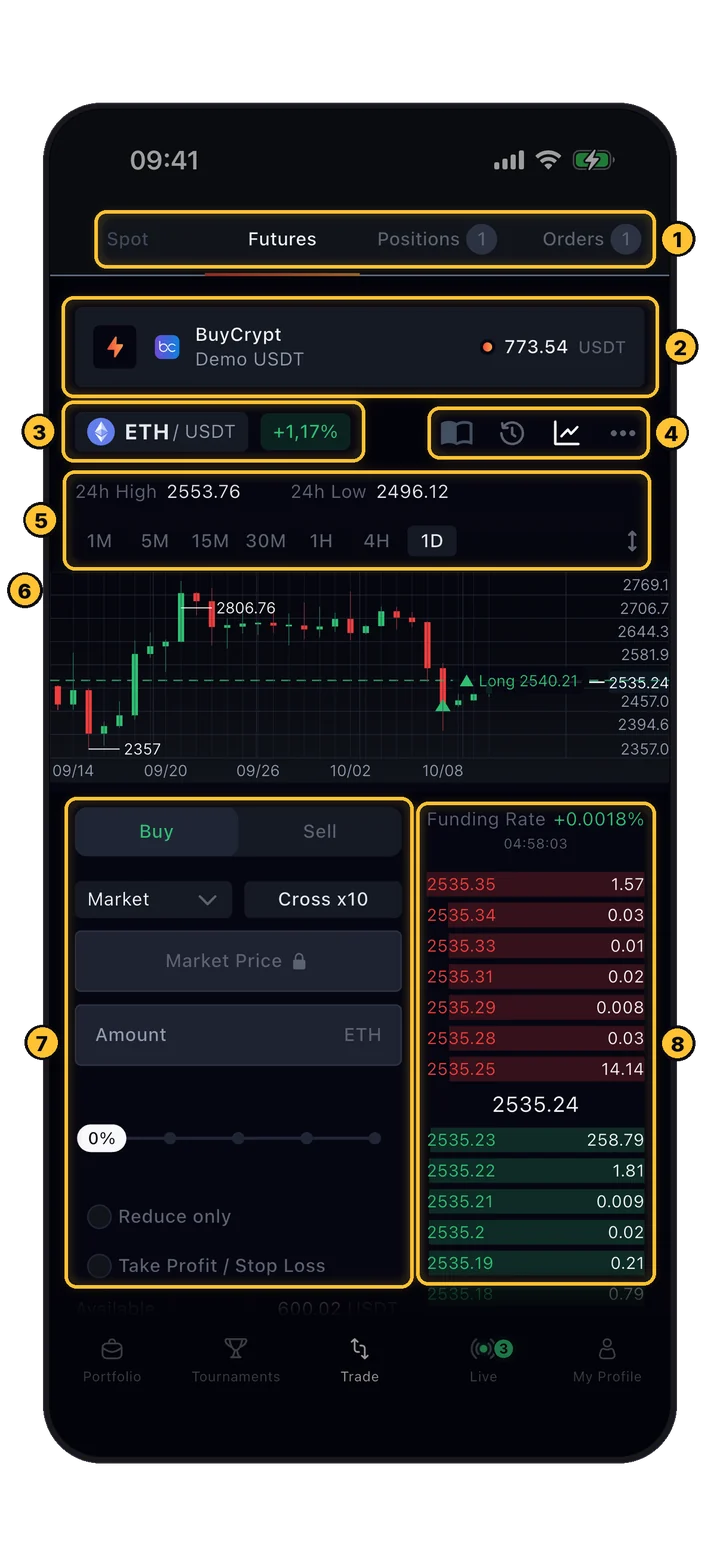
Trading terminal चार functional zones में split होता है। Layout एक बार सीखें — यह हर pair, हर exchange पर same है।

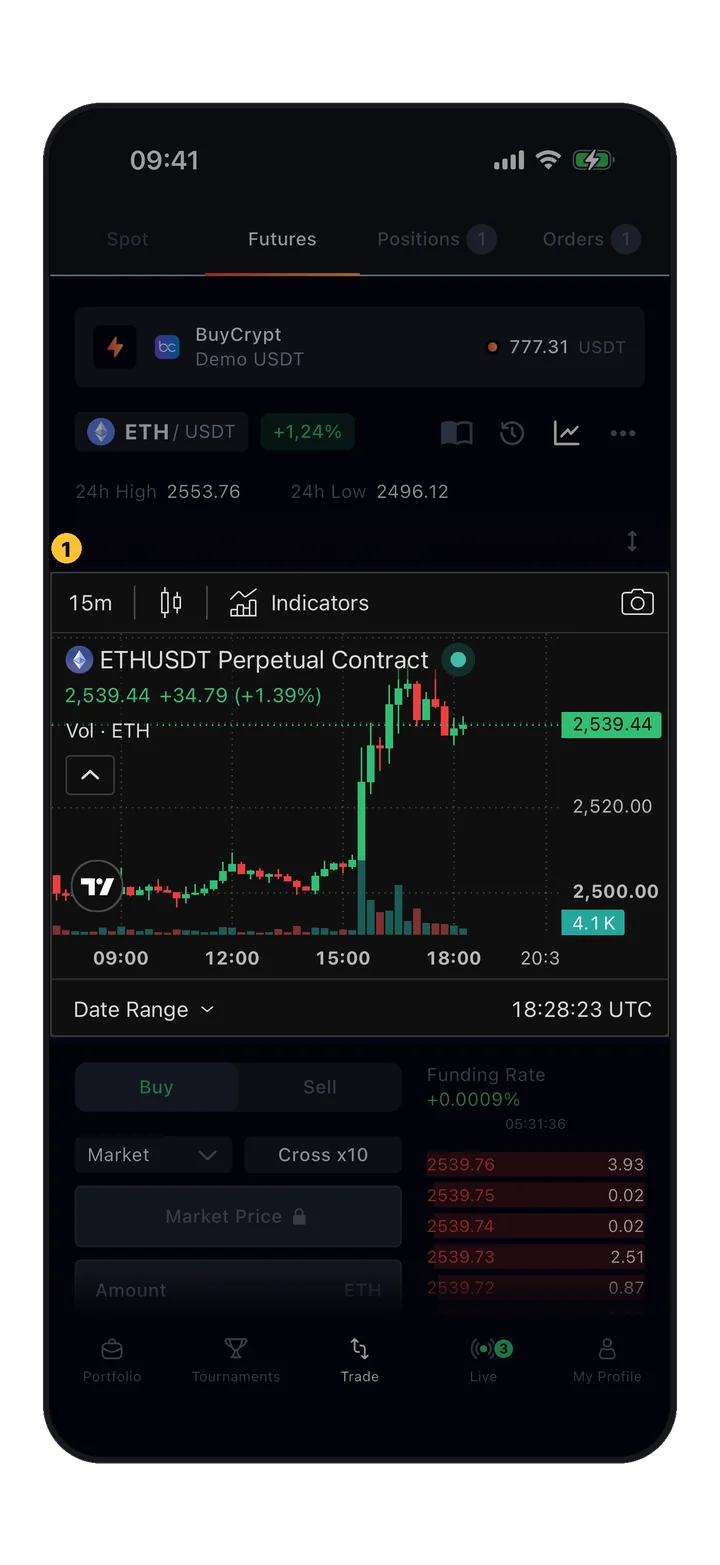
Trading UI: general menu और price chart
🔴 Red boxes · Zones 1 और 2
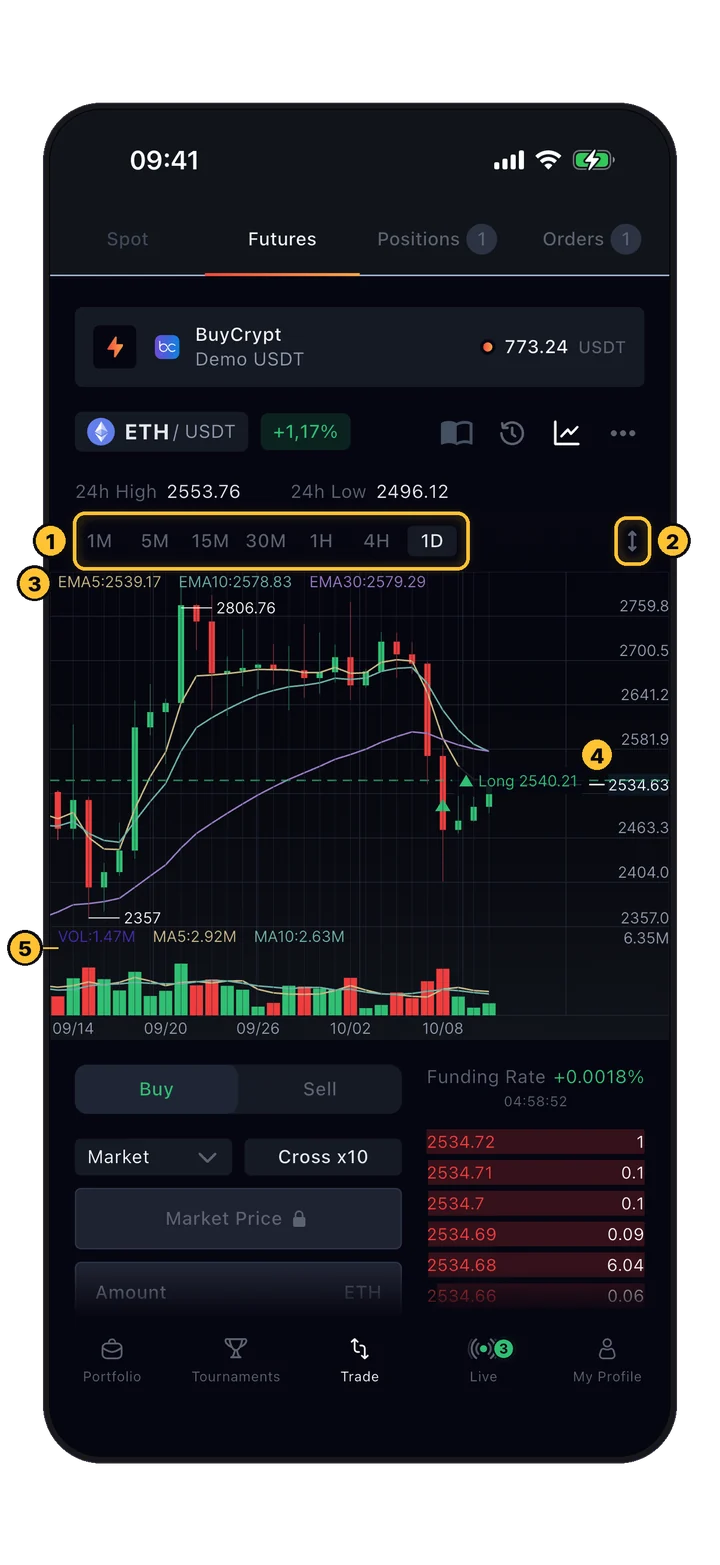
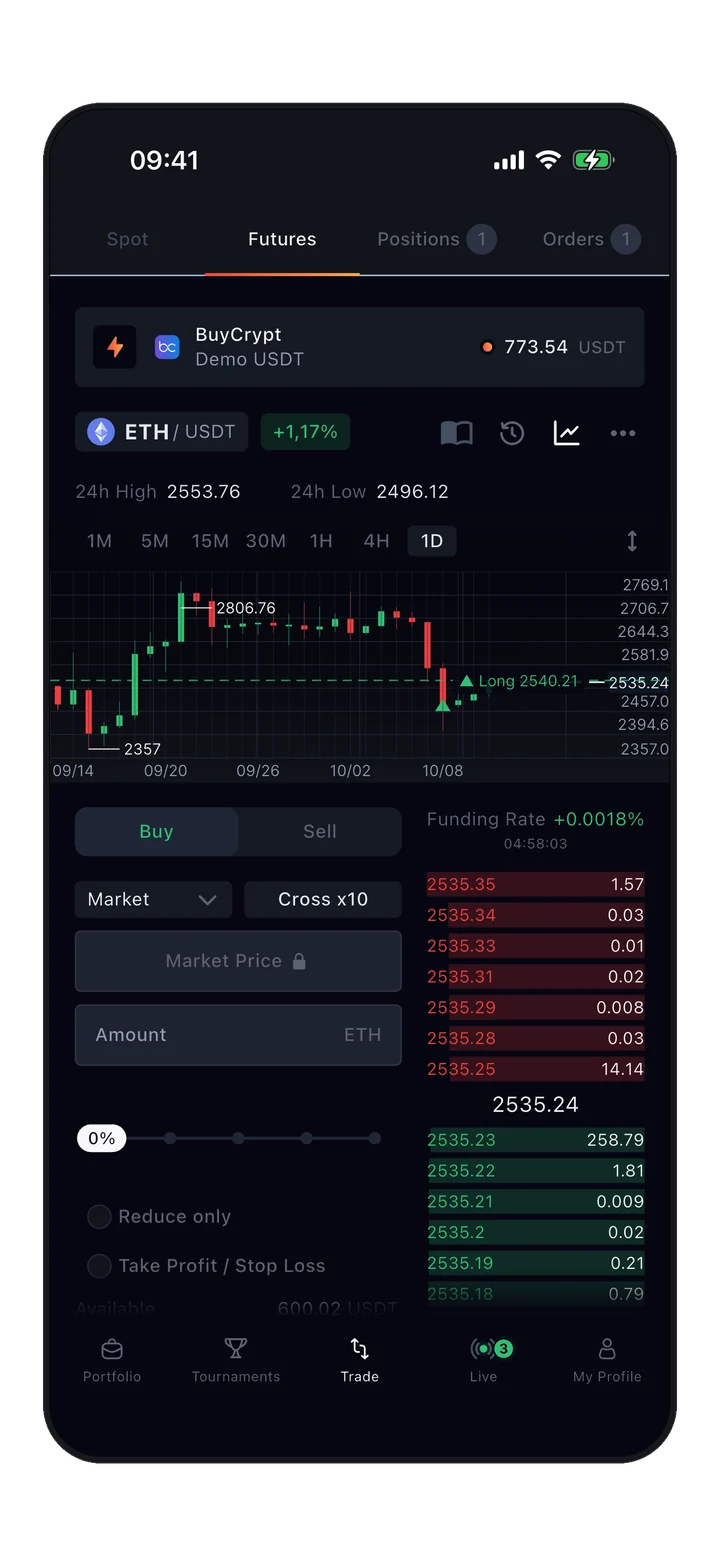
The टॉप ज़ोन (1) is the general menu: Spot/Futures toggle, Positions/Orders counters, and trading key selector. Below it sits the प्राइस चार्ट (2) with timeframes (1M, 5M, 15M, 30M, 1H, 4H, 1D).
1

जनरल मेन्यू

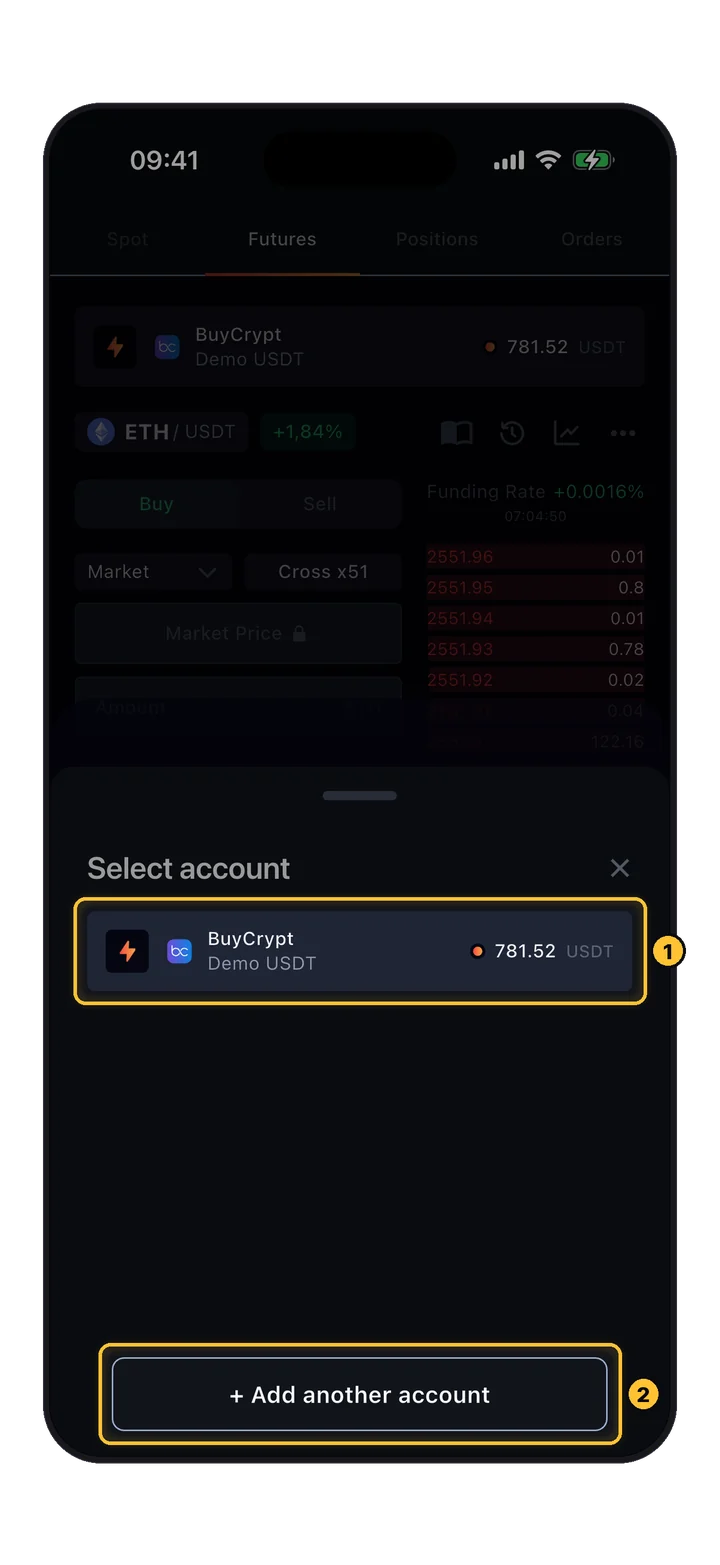
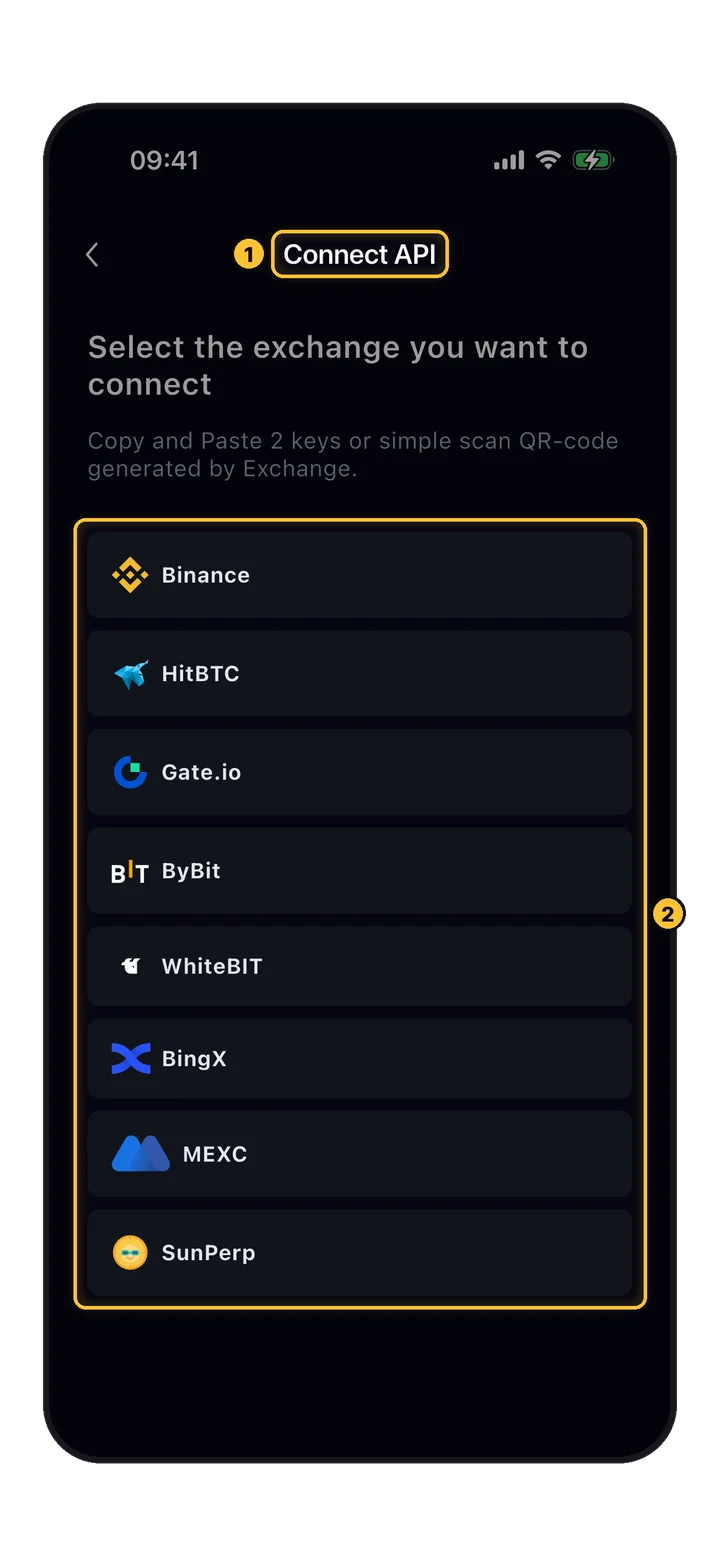
Screen के top पर। Spot या Futures के बीच switch करें, counts के साथ Positions/Orders badges देखें, और यदि आपने multiple exchanges connect किए हैं तो trading key select करें।
2

प्राइस चार्ट

Live price और candles। Top पर timeframe switch करें (1-minute से 1-day तक)। 24h high/low ऊपर दिखाई देता है। यहाँ आप कुछ भी place करने से पहले market read करते हैं।

💡 टिप

Price chart केवल market read करने के लिए है — आप candles tap करके orders place नहीं करते। सभी order entry नीचे zone 3 में होती है।

3

ऑर्डर सेटिंग्स

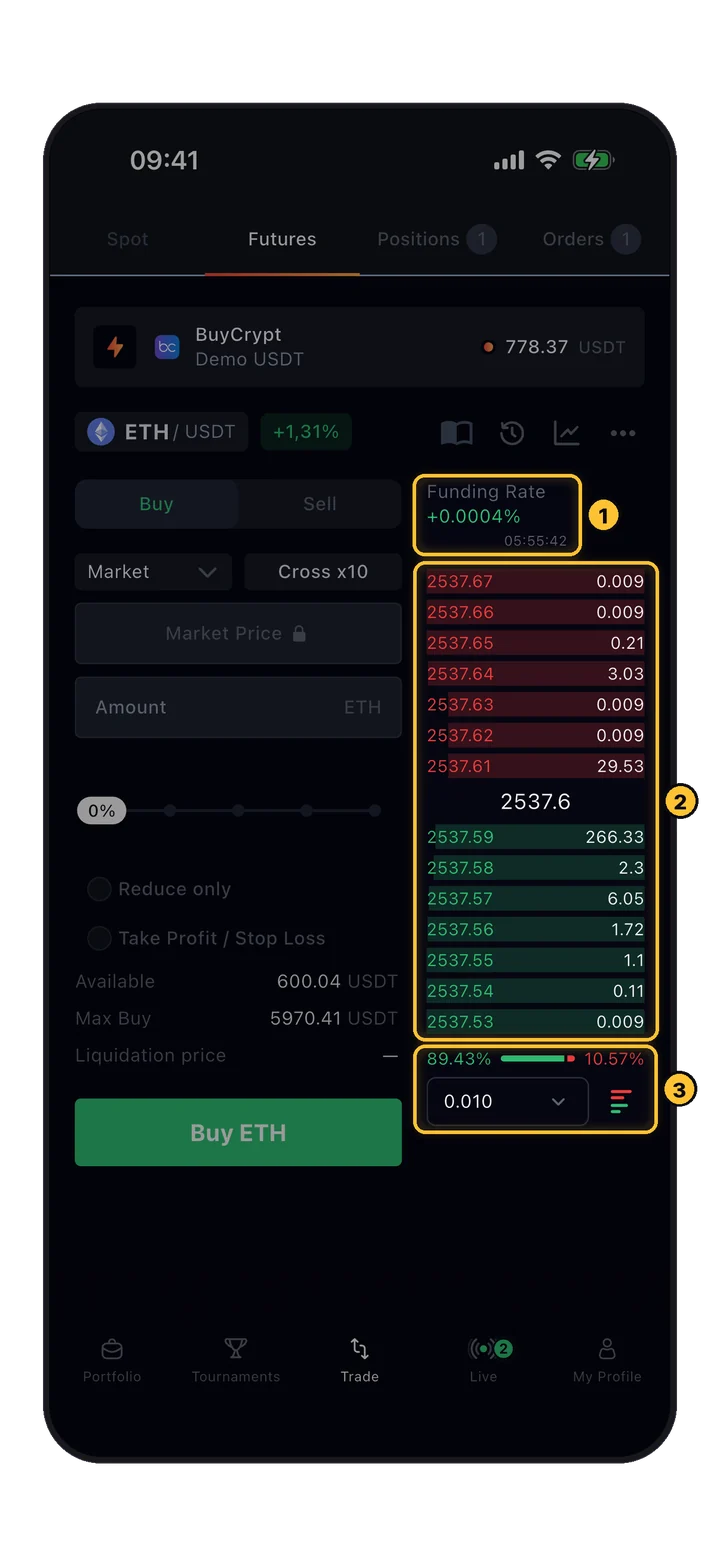
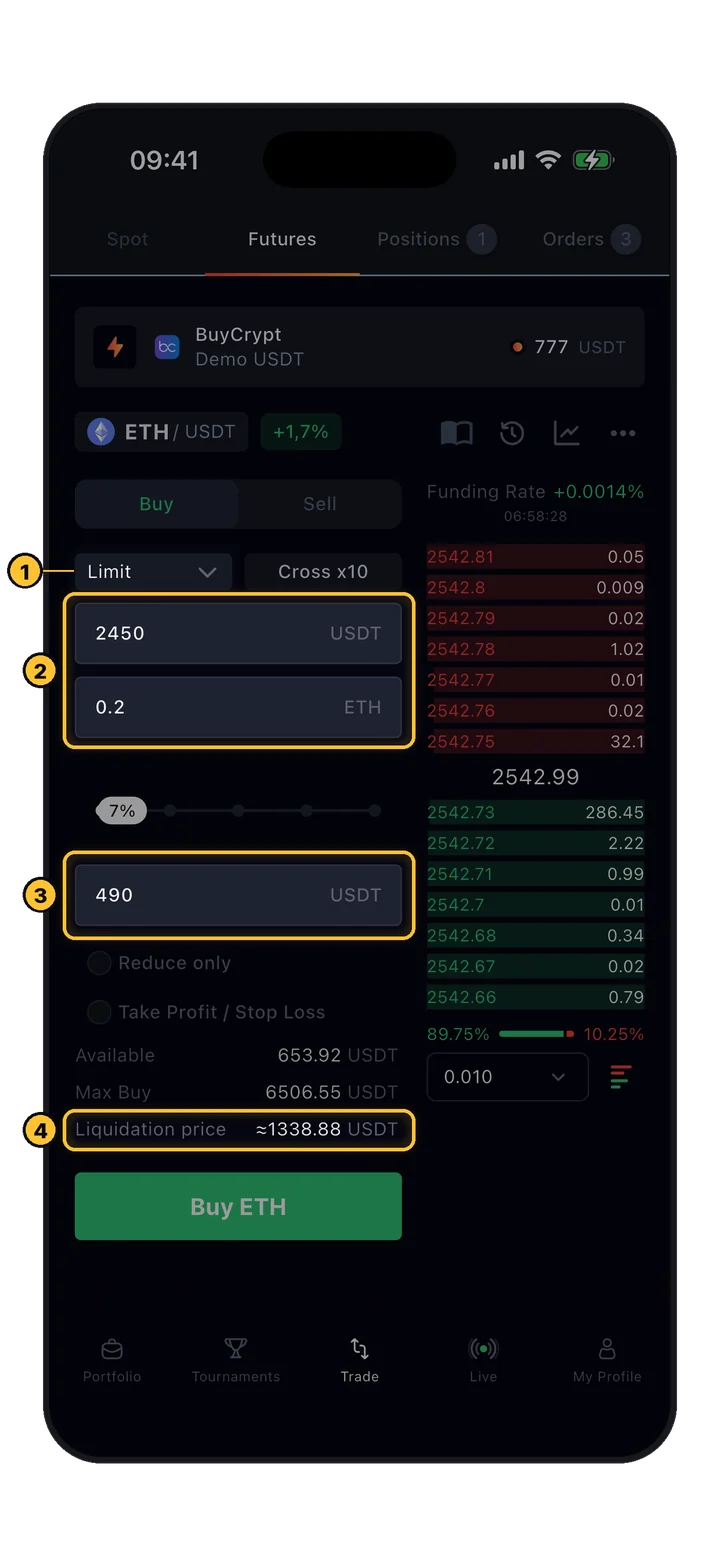
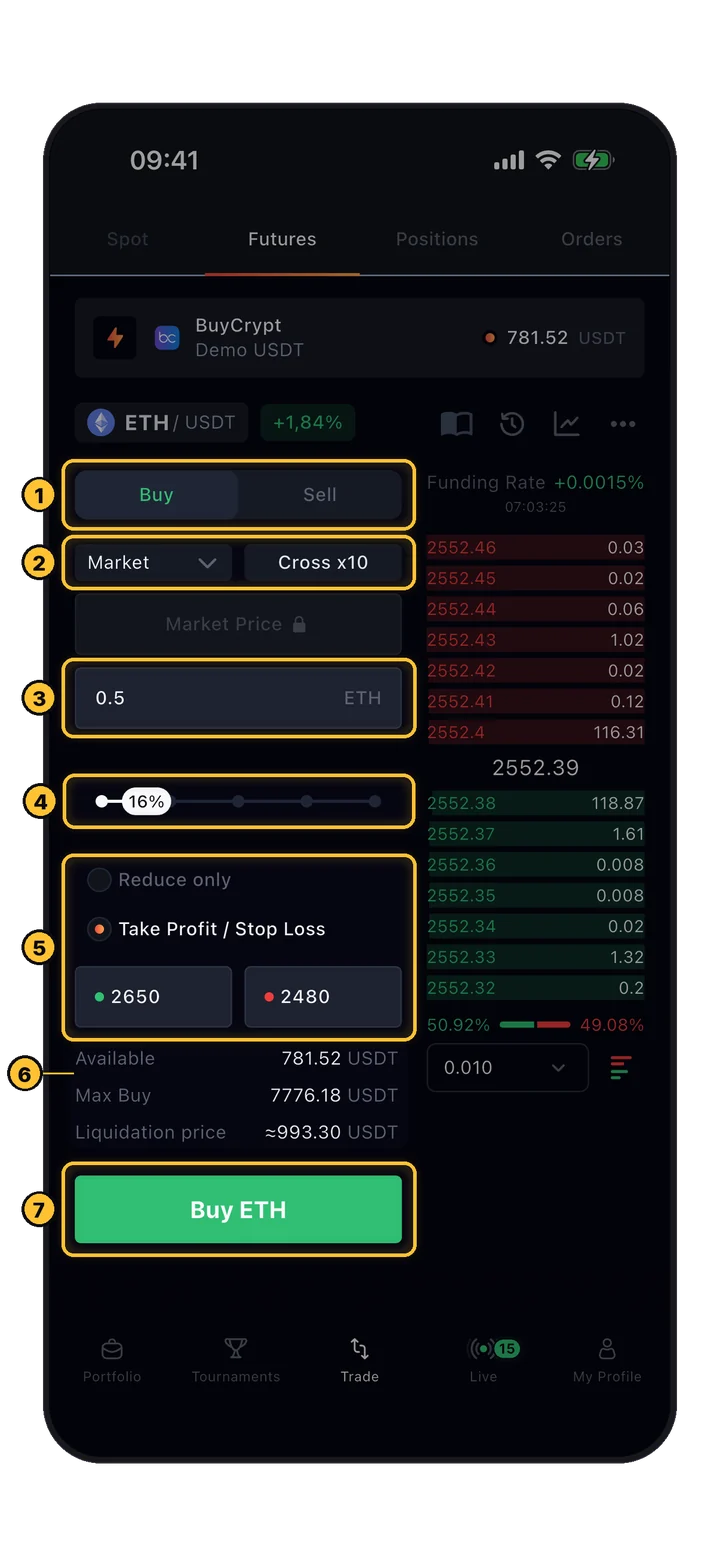
जहाँ orders place होते हैं। Buy या Sell चुनें, order type set करें (Limit, Market, etc.), leverage (Cross 100x), price और amount। Reduce Only और TP/SL के Toggles भी यहाँ हैं।

4

ऑर्डर बुक

Live depth। Red rows = active sell orders (asks), green rows = active buy orders (bids)। हर level पर price + size दिखाता है। Funding rate ऊपर होती है।

⚠️ ध्यान दें

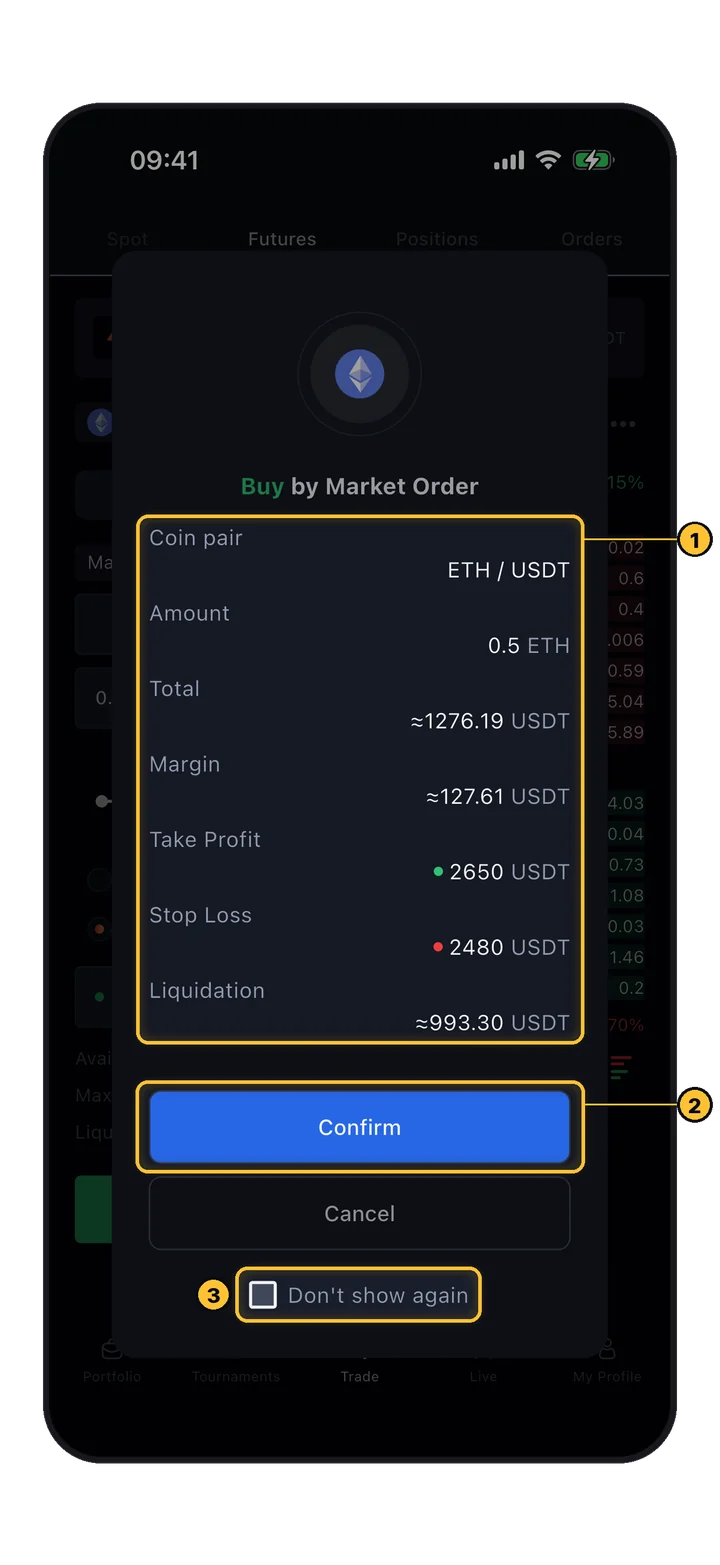
Order form के नीचे Available / Max Buy / Liquidation price fields leverage और amount बदलने पर auto-update होती हैं। Confirm करने से पहले हमेशा Liquidation price check करें।
Trading UI: order settings और order book
🔴 Red boxes · Zones 3 और 4
ऑर्डर सेटिंग्स (3) on the left: Buy/Sell toggle, Limit type, Cross 100x leverage, price, amount, Reduce only, TP/SL. ऑर्डर बुक (4) on the right: live depth with red asks above, green bids below, current price in the middle.
04 · Leverage

Exposure scale करें। Tradeoff जानें।
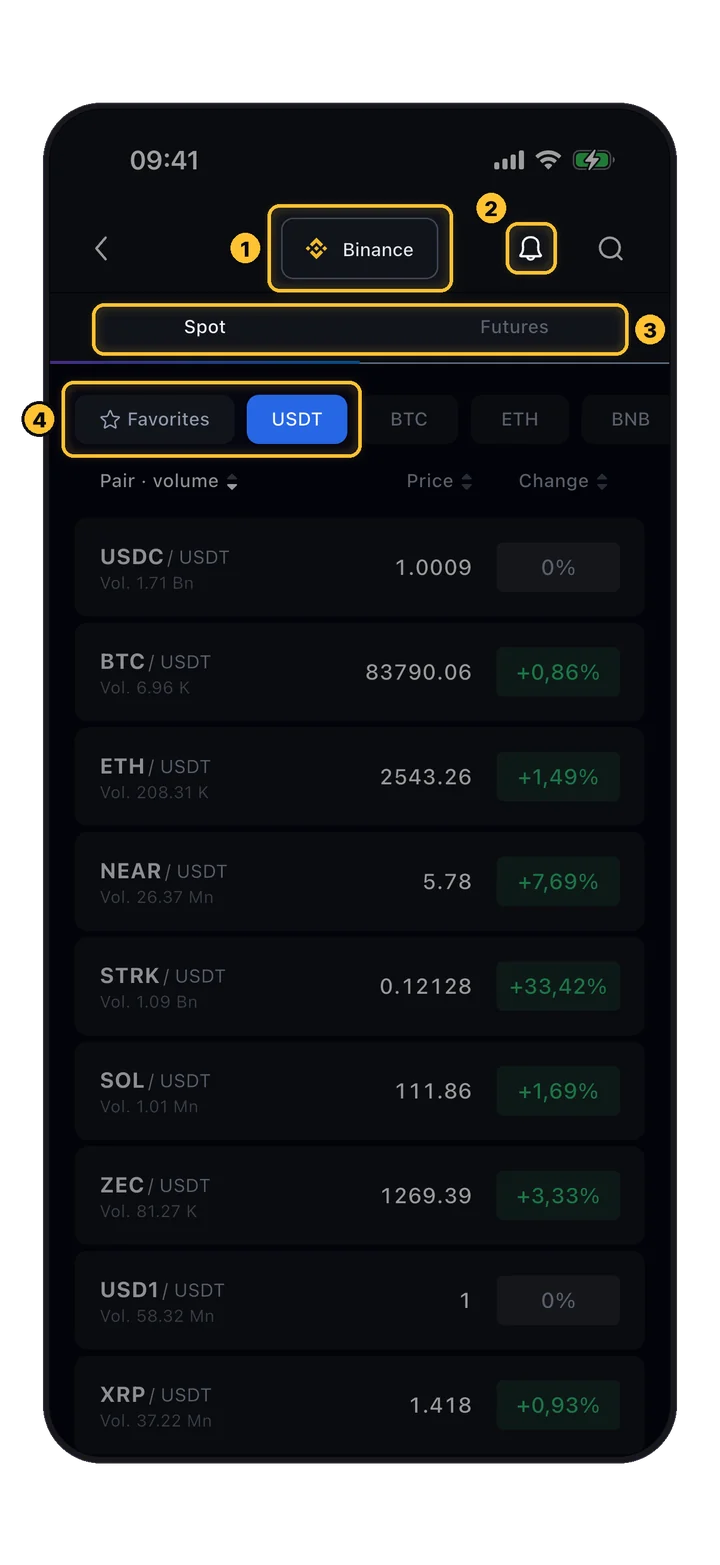
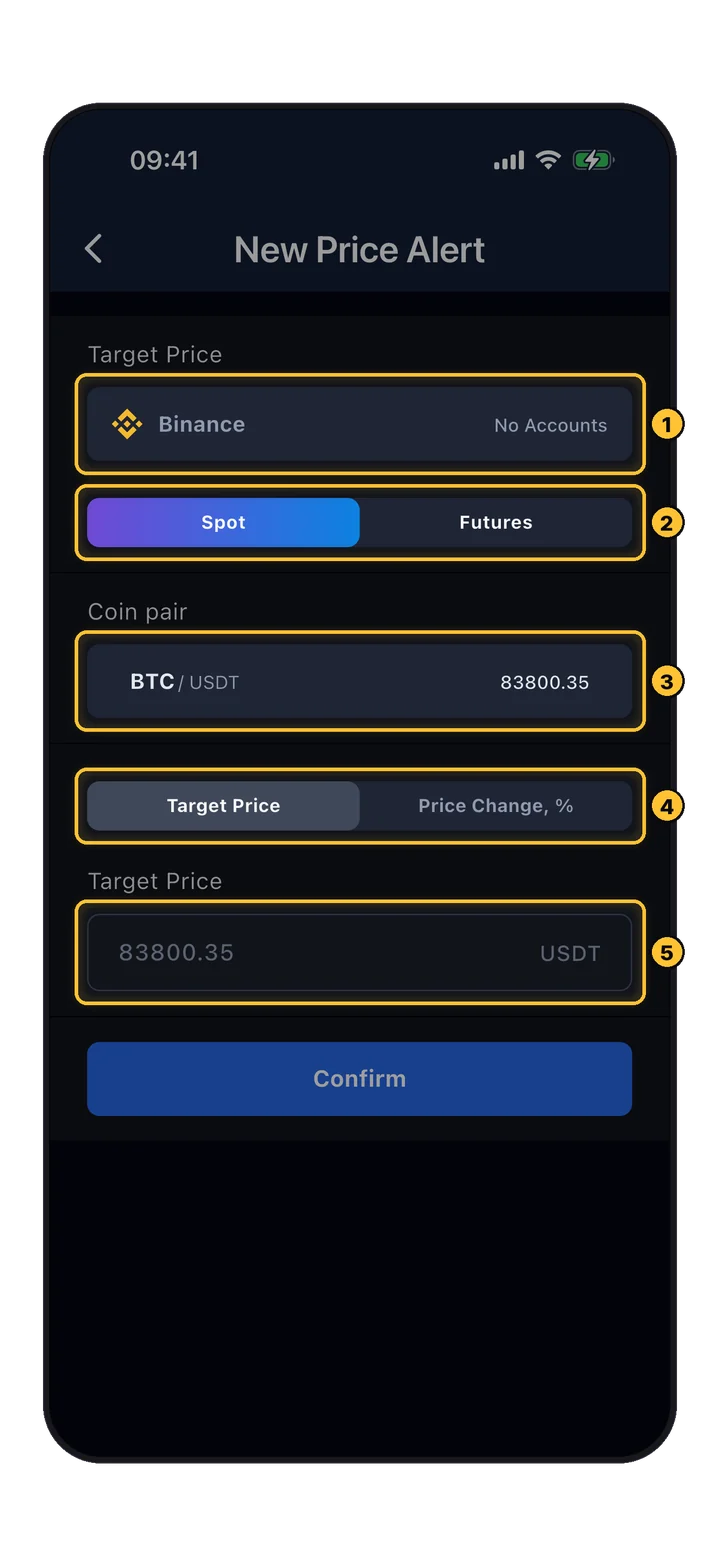
Leverage profit और loss दोनों को multiply करता है। BuyCrypt आपको इसे manually adjust करने देता है — 100x तक। अधिक leverage = liquidation से पहले error का smaller margin।

Order form में Leverage button
🔴 रेड बॉक्स · Cross 100x बटन
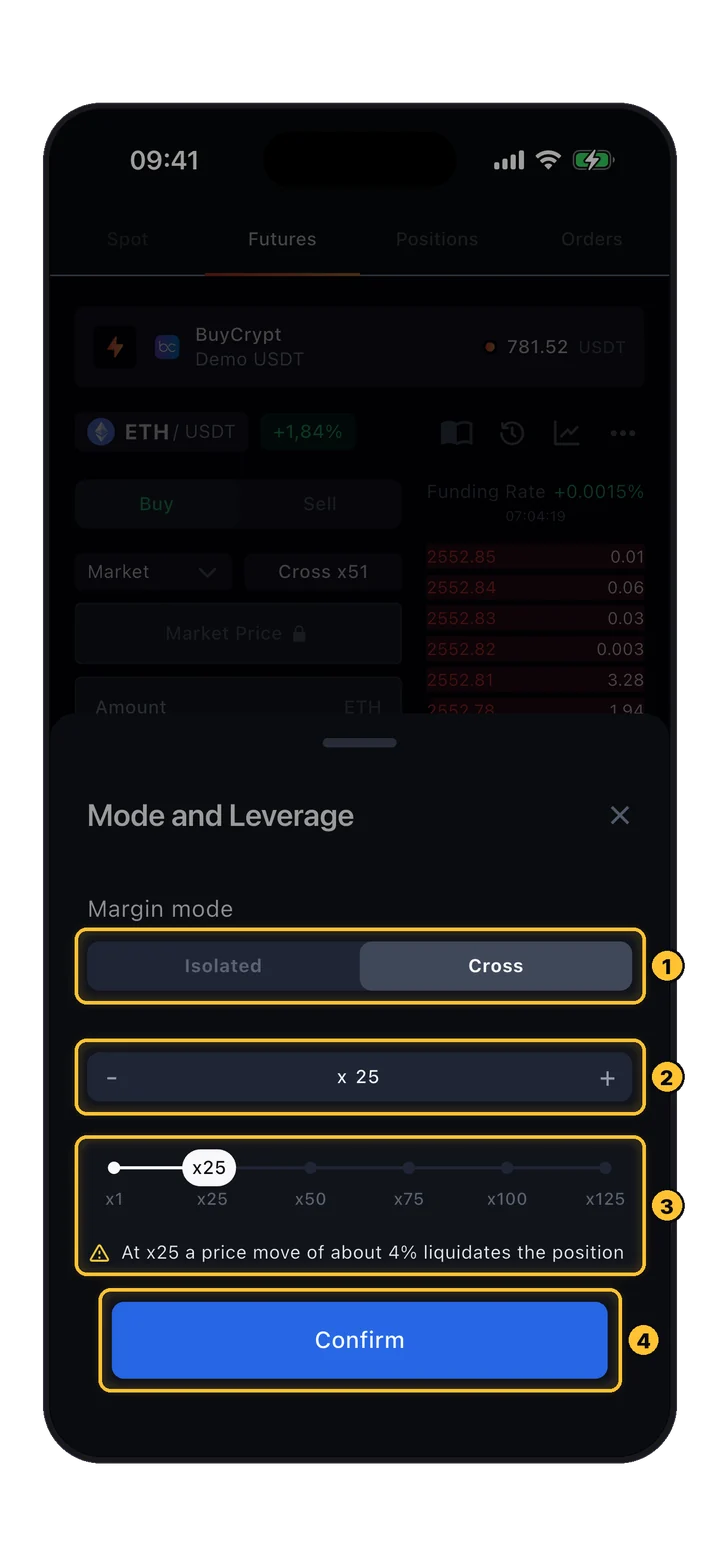
In the order input field, tap the मौजूदा leverage लेवल (default Cross 100x). This opens the Mode and Leverage bottom sheet where you can change it.
Leverage स्लाइडर: Confirm बटन के साथ 1x-100x
🎚 Mode और Leverage sheet
Choose your Margin मोड (Cross shown), then drag the स्लाइडर between 1x और 100x — or tap +/- for precise steps. Presets: 1x, 20x, 40x, 60x, 80x, 100x. Hit कन्फर्म to apply.
⚠️ Position size & leverage linked हैं

Position जितनी बड़ी, available leverage उतना छोटा, और इसके विपरीत। यह systemic risk cap करने के लिए exchange-level constraint है।

🚨 अधिक leverage = अधिक liquidation risk

100x leverage पर, 1% adverse move आपका margin wipe कर देता है। 10x पर, इसमें 10% लगता है। Enter करने से पहले हमेशा अपना leverage और stop-loss placement assess करें।
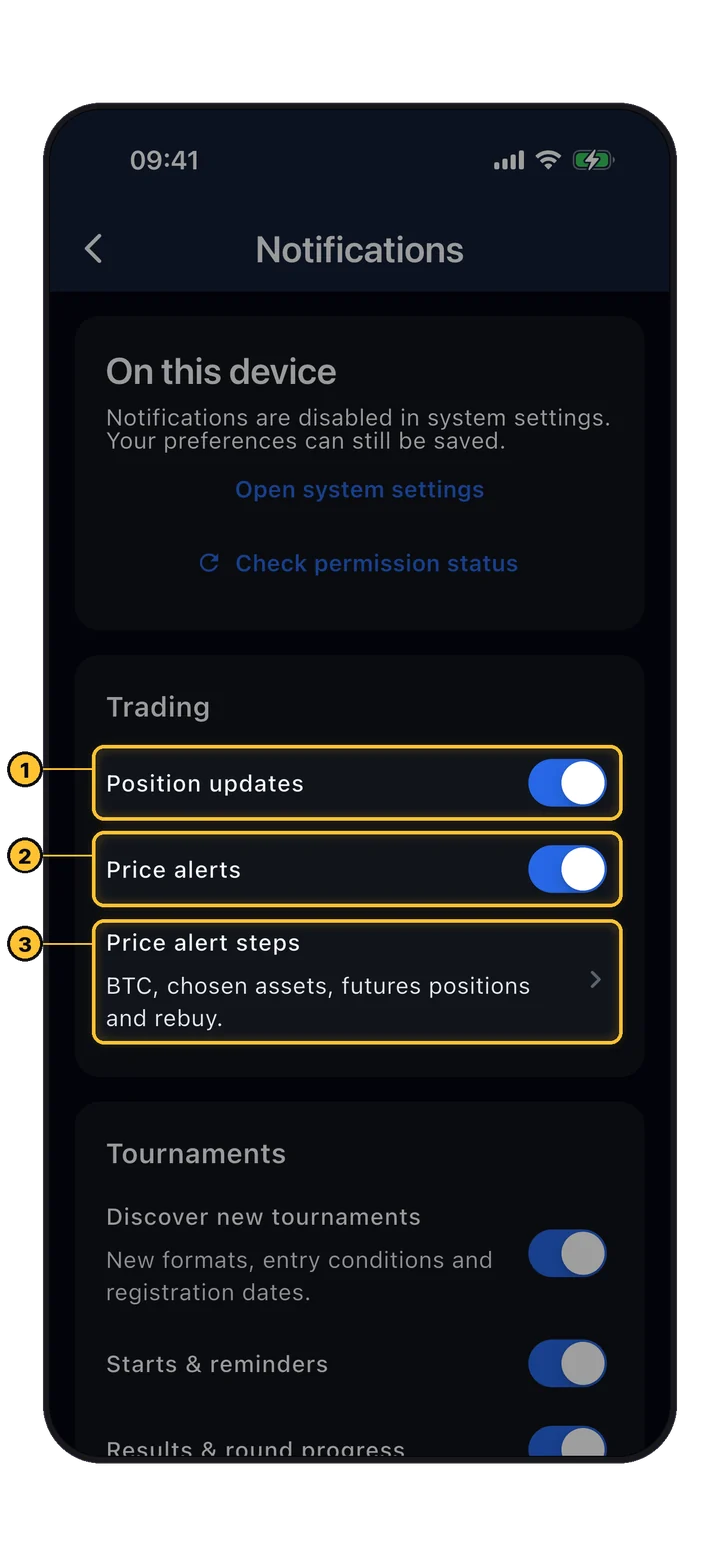
05 · प्राइसिंग

Mark price vs Last price।
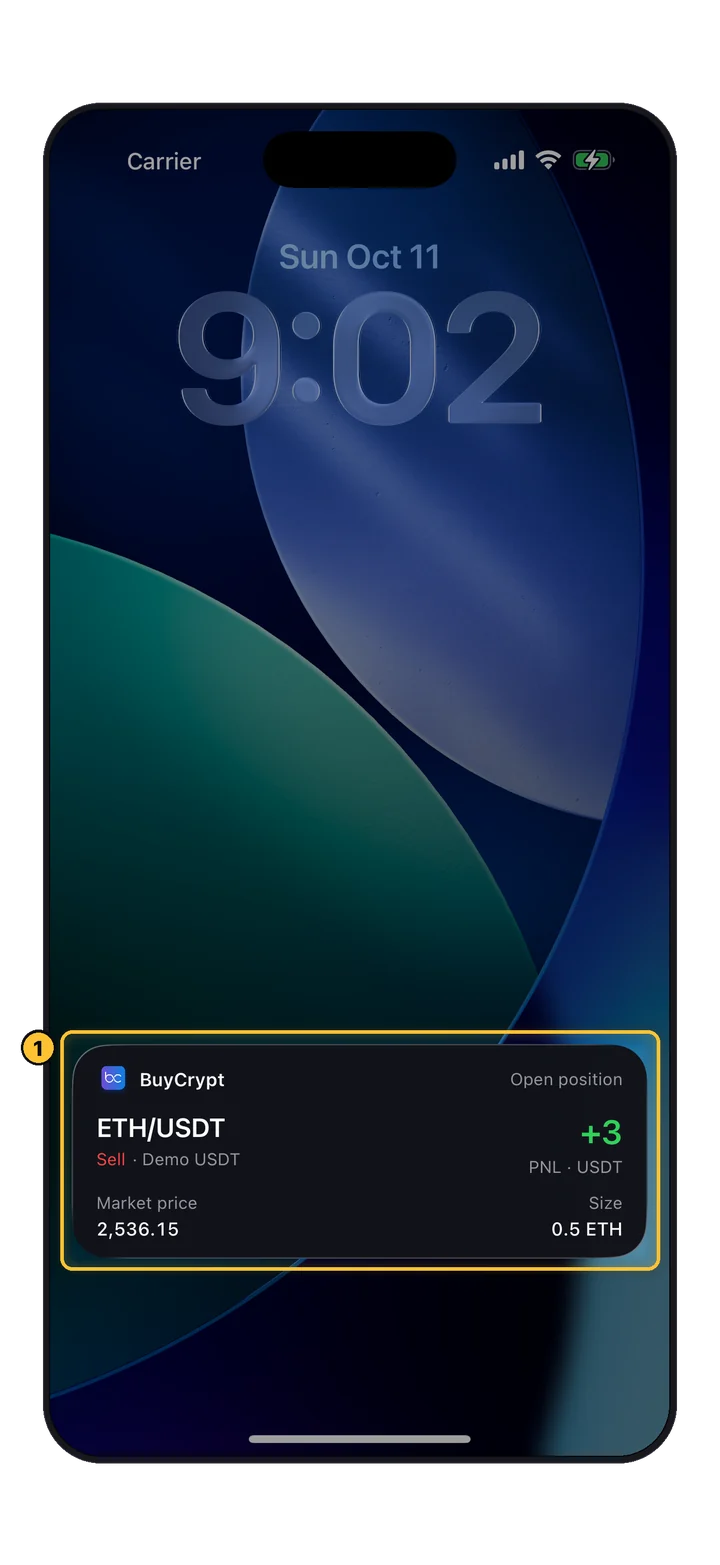
दो price feeds, दो jobs। यह जानना कि कब कौन सा मायने रखता है, आपको surprise liquidations से बचाता है।

डायमेंशन
💱 लास्ट प्राइस
🛡 मार्क प्राइस
यह क्या है
सबसे recent trade की price
Multiple exchanges + funding data से calculated price
किसके लिए उपयोग
रियलाइज्ड PnL (क्लोज़्ड पोज़िशन्स)
लिक्विडेशन और अनरियलाइज्ड PnL (ओपन पोज़िशन्स)
वोलेटाइल?
हाँ — trade-by-trade बदलती है
Dampened — manipulation के प्रति resistant
उद्देश्य
Real market activity दिखाता है
Single-exchange wicks को healthy positions liquidate करने से रोकता है
💡 यह क्यों मायने रखता है

यदि आप देखते हैं कि Last Price एक second के लिए आपकी liquidation line से 2% नीचे spike करती है — घबराएँ नहीं। Mark Price उतनी नहीं बदली क्योंकि यह multiple exchanges पर smoothed है। आपकी position survive करती है।

06 · ऑर्डर टाइप्स

Order place करने के पाँच तरीके।

हर order type एक अलग सवाल का जवाब देता है: "अभी खरीदो", "केवल मेरी price पर खरीदो", "जब price एक level break करे तब खरीदो"। वह चुनें जो आपके intent से match करे।

💵
डिफ़ॉल्ट

Limit Order

जब market आपकी set price पर पहुँचे तब execute होता है। Market से नीचे खरीदें / market से ऊपर बेचें।

📈
इंस्टेंट

Market Order

Best current price पर तुरंत execute होता है। जब timing price से ज़्यादा मायने रखे।

कंडीशनल

Limit Stop

Stop price hit होने पर limit order activate होता है। Breakout + price control।

🔔
कंडीशनल

Market Stop

Stop price पर market order के रूप में fire होता है। तेज़ exit, price slippage possible।

🛡
एग्ज़िट

Limit Take Profit

Target price hit होने पर gains lock in करता है। Set it and forget it।

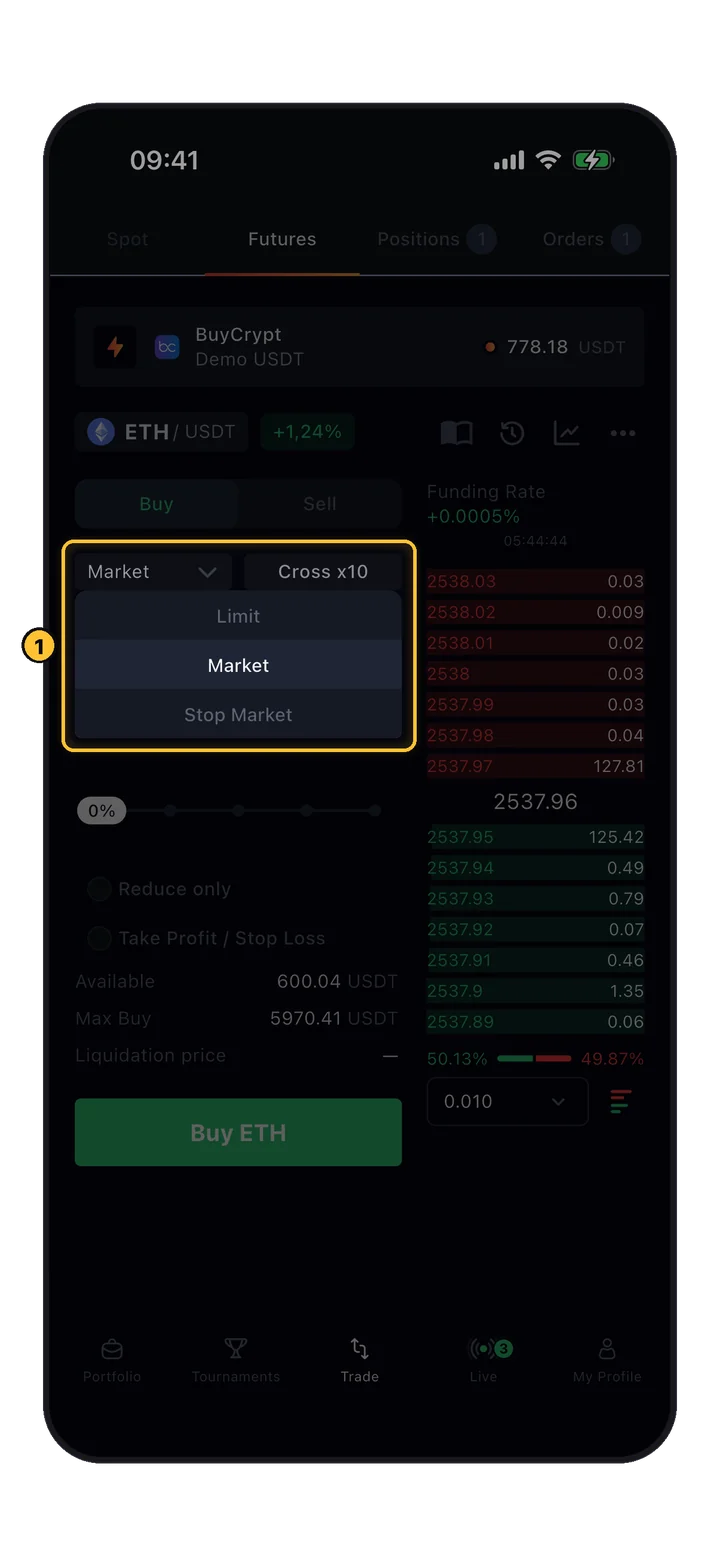
ऑर्डर टाइप ड्रॉपडाउन बंद, Limit दिख रहा
🔴 Limit ड्रॉपडाउन
The ऑर्डर टाइप सिलेक्टर sits in the order form. Default is Limit — tap to change.
ऑर्डर टाइप ड्रॉपडाउन खुला: Limit/Market/Stop Market
🔴 ड्रॉपडाउन खुला
Three core choices: Limit, Market, Stop Market. Tap to select.
1 pending limit order के साथ Orders tab
🔴 पेंडिंग ऑर्डर कार्ड
ऑर्डर्स टैब: pending BTC/USDT Sell Limit @55000.0 waiting for price. कैंसल button top-right.
07 · एसेंशियल्स

तीन concepts जो जानने लायक हैं।

Calculator, funding rate, liquidation — mechanics जो हर futures trader को internalize करनी चाहिए।

🧮

कैलकुलेटर

Position commit करने से पहले PnL, target price और liquidation price preview करने का built-in tool। Real capital के बिना scenarios के साथ खेलें।

💸

फंडिंग रेट

वह mechanism जो perpetual futures को spot के साथ pegged रखती है। Longs shorts को pay करते हैं (या vice versa) periodically, इस पर based कि perp price spot से कितनी दूर है। Positive rate = longs pay करते हैं।

❗️

लिक्विडेशन

तब होता है जब आपका margin balance maintenance margin से नीचे गिरता है। इससे बचने के लिए: positions monitor करें, stops set करें, और समय पर close करें। Leverage को अपने ऊपर हावी न होने दें।

08 · मैनेज

Monitor करें। Adjust करें। Close करें।

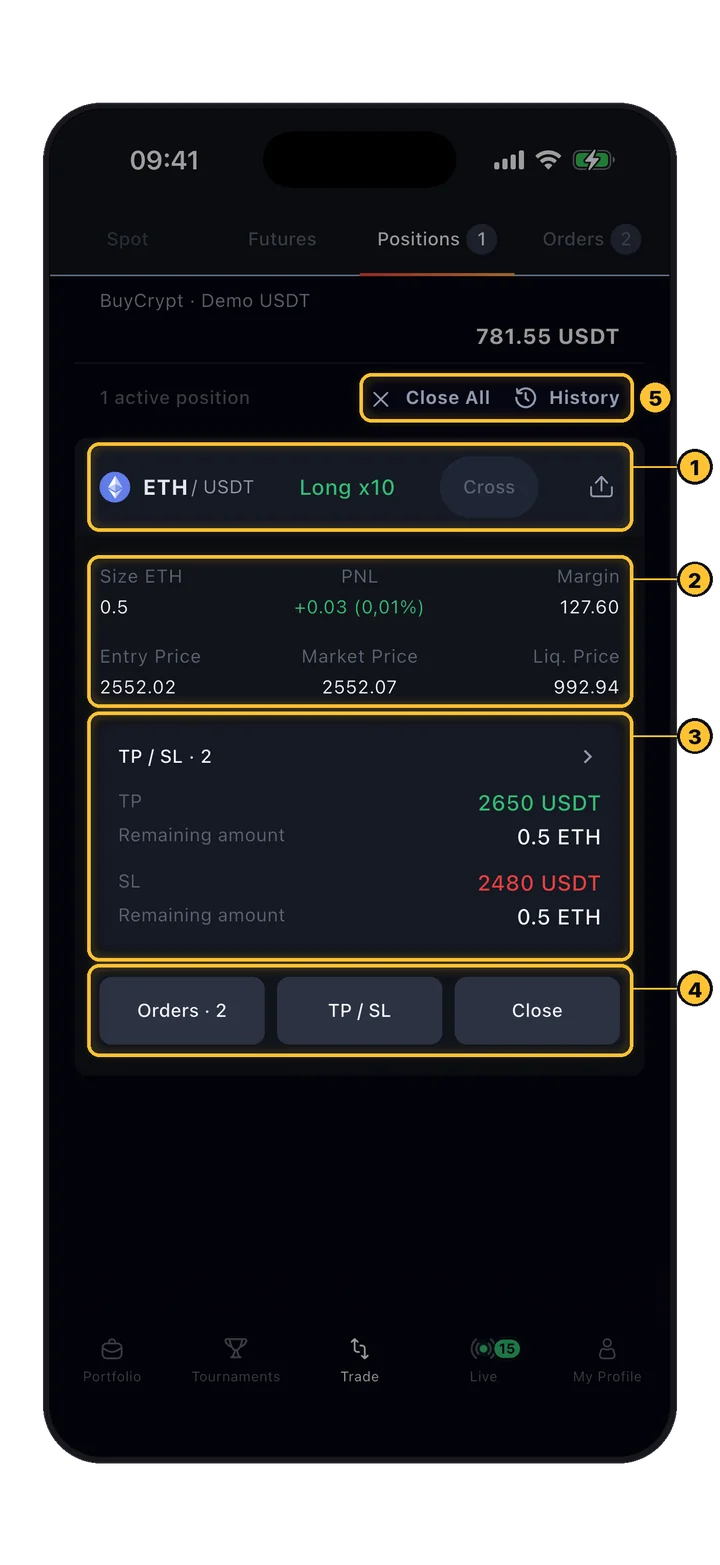
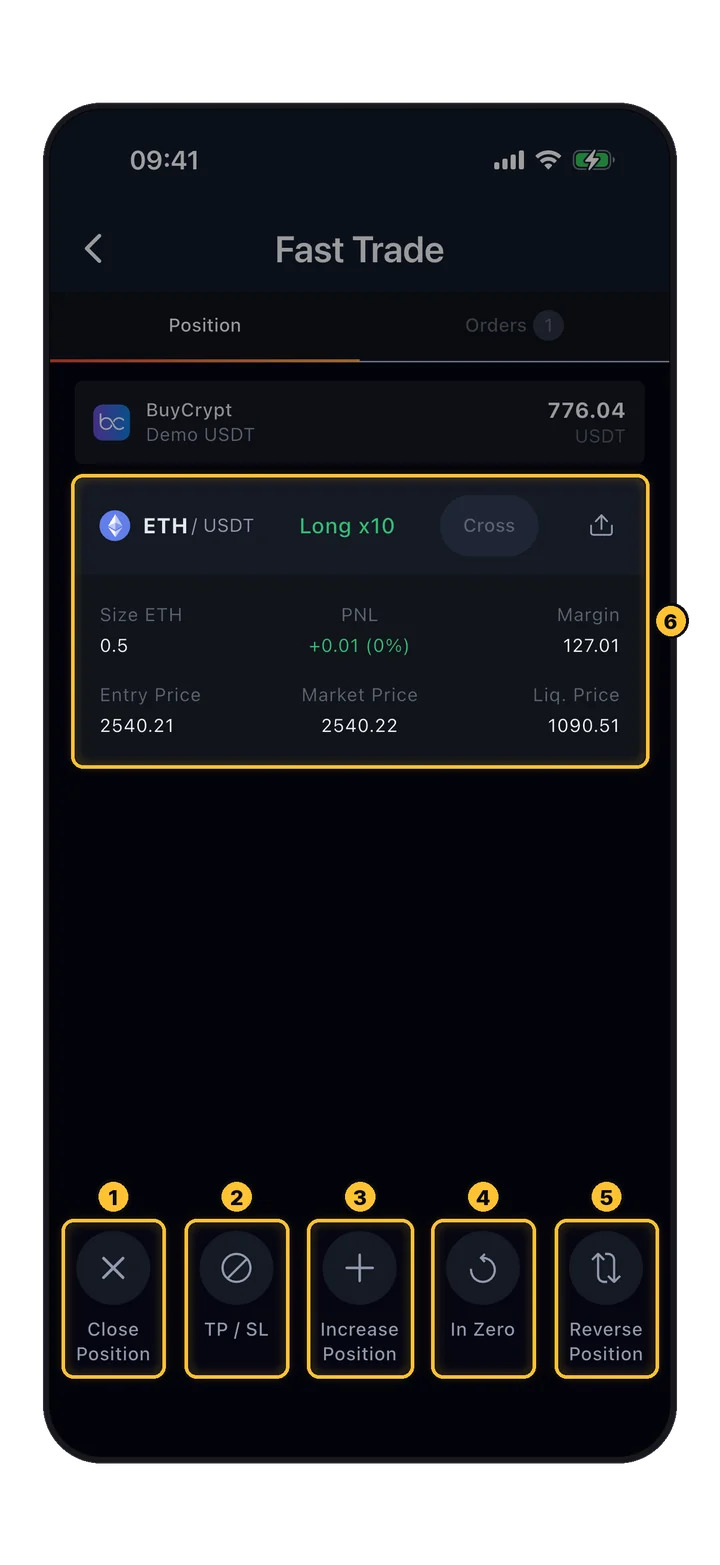
एक बार position में होने पर, Positions tab आपका command center है। हर field जो मायने रखती है — एक नज़र में।

PnL के साथ Active position card
🔴 रेड बॉक्स · एक्टिव पोज़िशन
BTC/USDT Sell 100x — +759.45 USDT unrealized PnL (+12.61%). Fields: साइज़, PnL, Margin, एंट्री / Market / लिक्विडेशन प्राइस. Action buttons: ऑर्डर्स / TP/SL / क्लोज़.
Limit/Market और % buttons के साथ Close position sheet
🔴 रेड बॉक्स · Close by सेक्शन
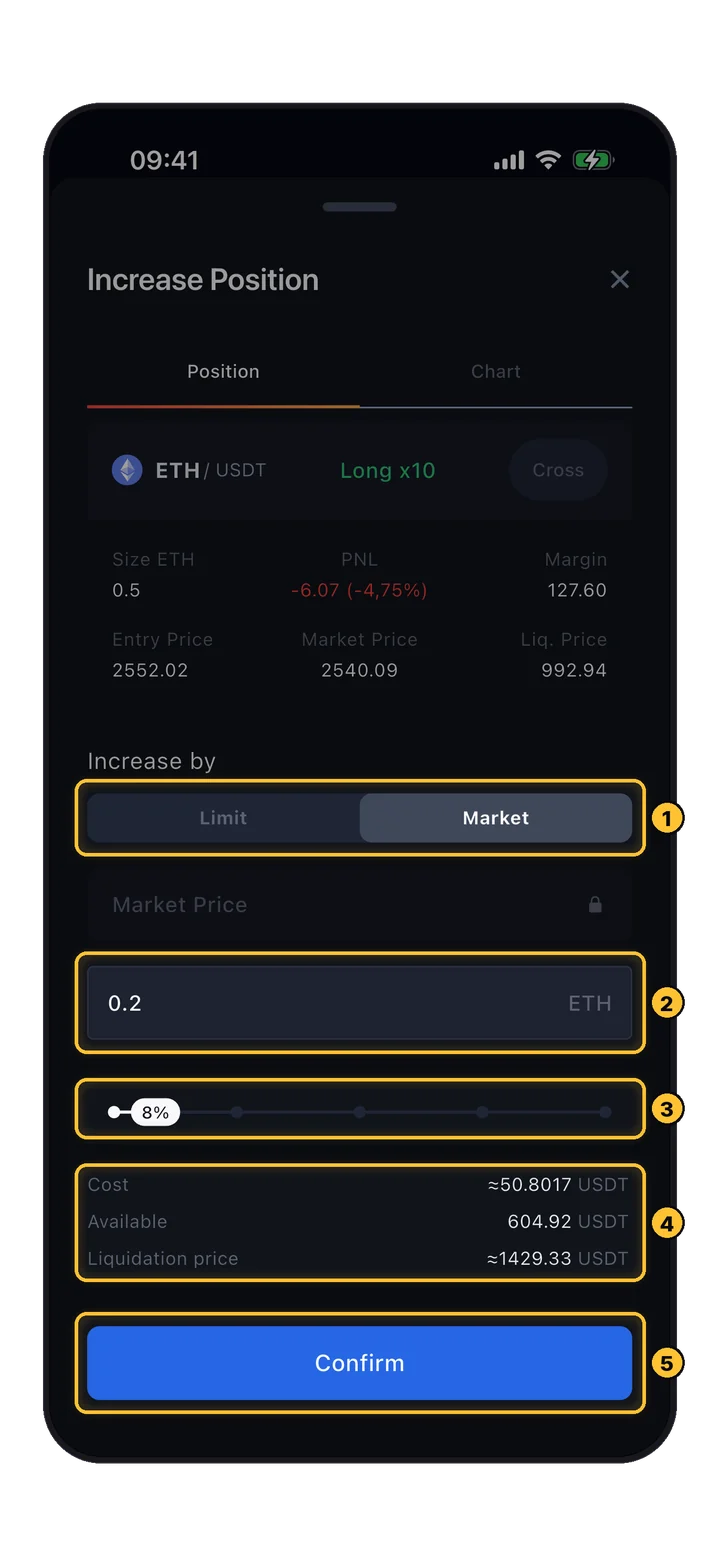
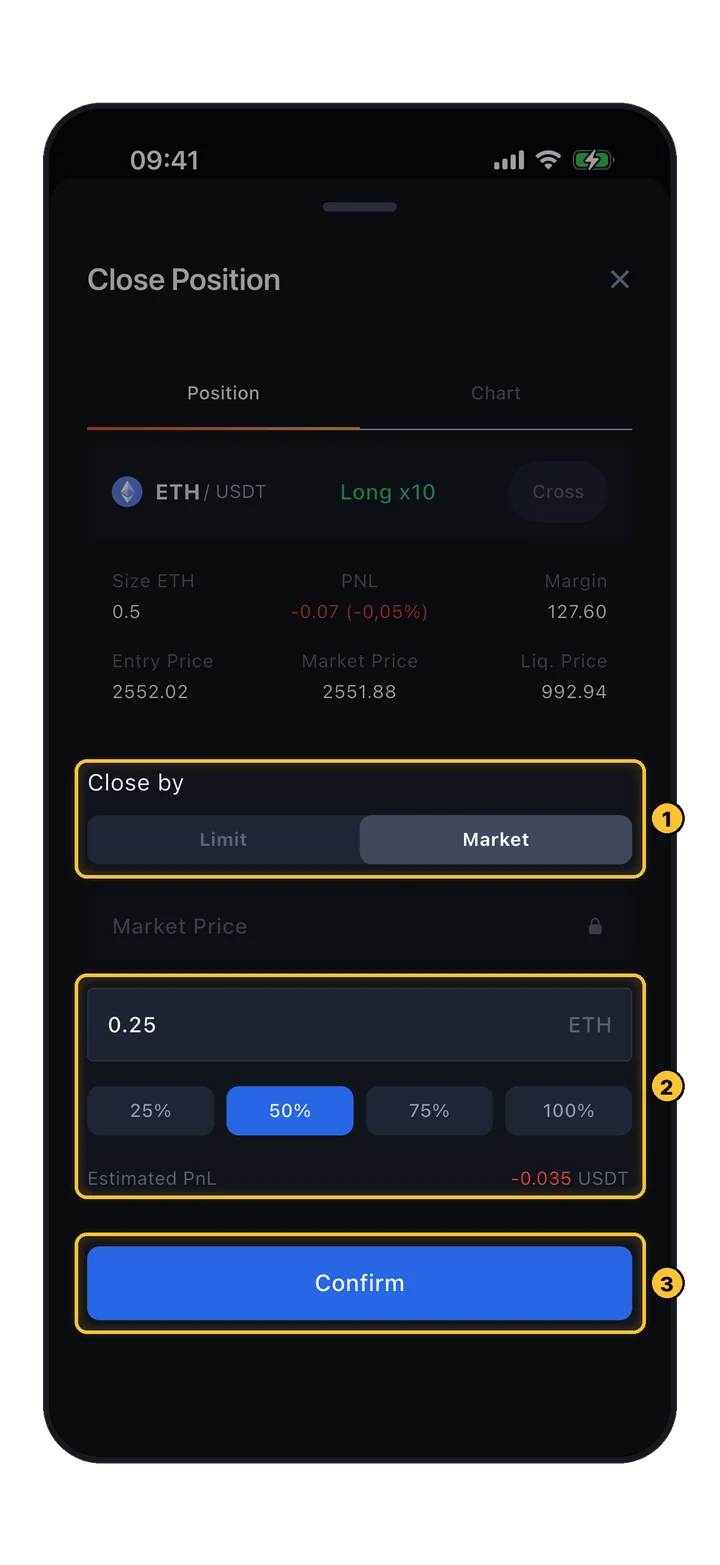
Tap क्लोज़ → opens this sheet. Choose Limit or Market close type, set price/amount, or use quick 25 / 50 / 75 / 100% preset buttons to partial-close. Confirm to execute.

Position card पर हर field

एक नज़र में हर number का मतलब।

📏
साइज़
Base currency में contract size (जैसे 14.007 BTC)
💰
अनरियलाइज्ड PnL
अभी close करने पर current profit/loss
🔒
Margin
इस position के लिए locked collateral
🎯
एंट्री प्राइस
Average price जिस पर आपने open किया
📍
Market Price
अभी current price
💥
लिक्विडेशन प्राइस
वह price जिस पर position liquidate हो जाती है
Trading शुरू करें

Terminal खोलें।

Account create हो गया। Interface समझ लिया। Leverage calibrate कर लिया। App खोलें और एक free tournament में अपना पहला paper trade place करें — zero real risk, maximum learning।

शुरू करना मुफ़्त · Tournaments में practice करें · Qualifiers में कोई real funds जोखिम में नहीं
पढ़ते रहें

Related guides।

लाइव ट्रेडर पोज़िशन्स
Traders अभी क्या कर रहे हैं
फुल मार्केट्स व्यू →
Positions load हो रही हैं…